Installing Sensors
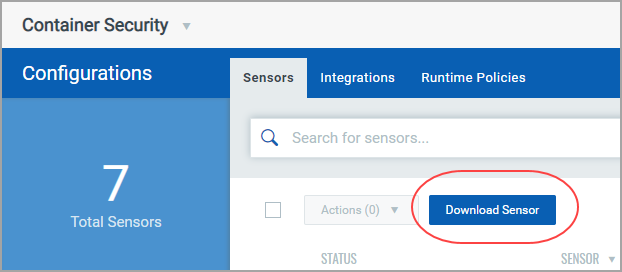
Go to Configurations > Sensors, and click Download Sensor. Optionally, click Download Container Sensor from the Home page.

The Download and Deploy Qualys Container Sensor window will appear, as shown below.

Pick the type of sensor you want to deploy. Sensor types:
General (Host) Sensor: Scan any host other than registry / build (CI/CD).
Registry Sensor: Scan images in a registry (public / private). For Registry you need to append the install command with --registry-sensor or -r
Build (CI/CD) Sensor: Scan images on CI/CD pipeline (Jenkins / Bamboo). For CI/CD you need to append the install command with --cicd-deployed-sensor or -c
For a standalone deployment:
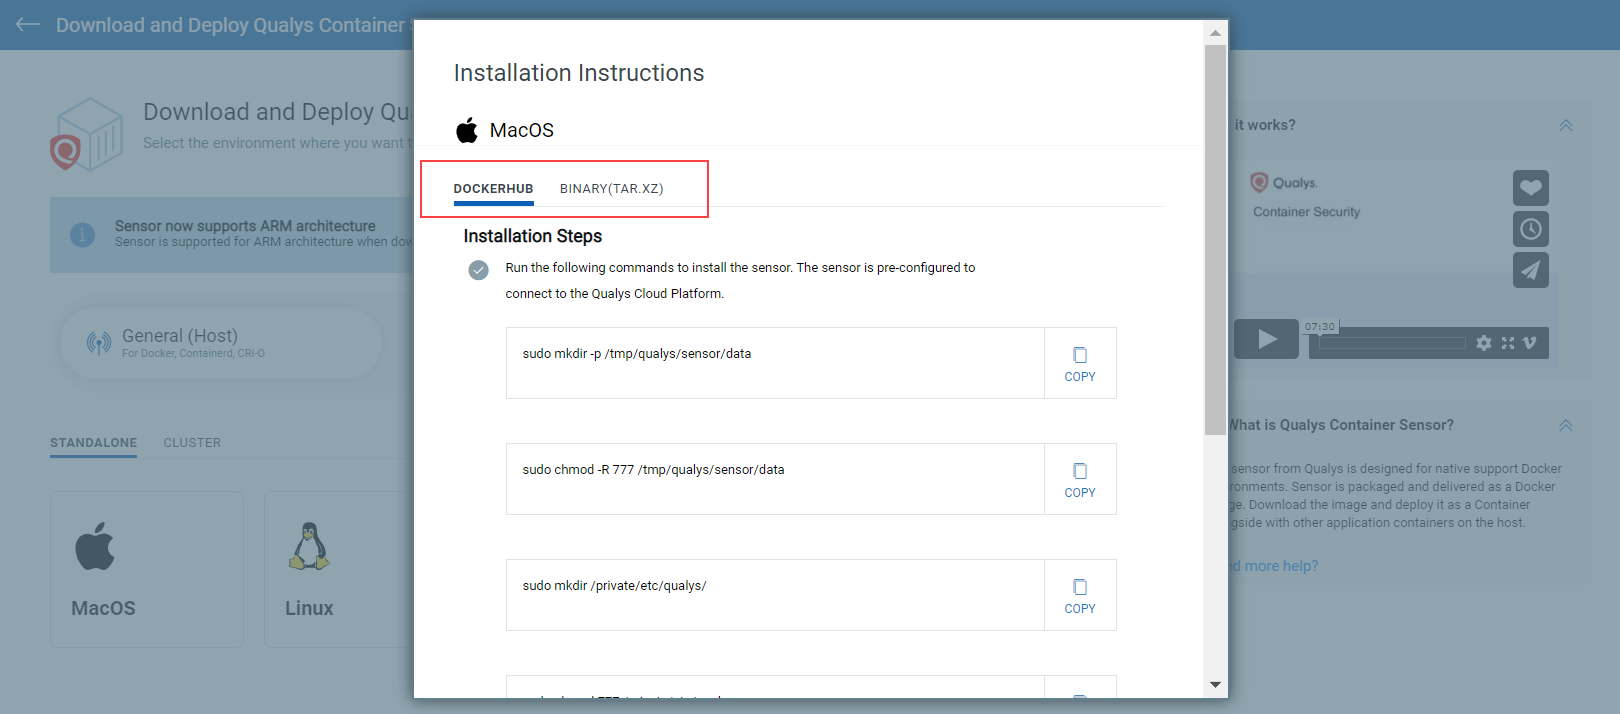
To deploy on a standalone host, pick the host’s operating system: MacOS, Linux or CoreOS.

In the window that appears, choose DOCKERHUB or BINARY(TAR.XZ) for how you want to install the sensor. Simply follow the steps on the screen. For Docker Hub, you’ll run the docker commands on the screen. For binary, you’ll download the tar file and run the install commands on the screen. When you choose the BINARY(TAR.XZ) tab, you'll see a note informing you that binary installation is not supported for ARM architecture. For ARM support, follow the Docker Hub installation instructions.

For a cluster deployment:
To deploy to a cluster, first pick the cloud environment: Docker Swarm, Kubernetes, Openshift, DCOS or AWS ECS.

In the window that appears, choose the runtime. In the example below for General sensor being deployed in Kubernetes, you’ll see DOCKER, CONTAINERD and CRI-O runtime options. After making your selection, simply follow the steps on the screen. The installation yaml file will already be pre-filled with your activation ID, customer ID and POD URL.

Important - Be sure to note the System Requirements shown on the screen for installing the sensor. For example, the sensor needs a minimum of 1 GB persistent storage on the host.
For advanced configurations and more information on the “installsensor.sh” script command line parameters, please refer to the Qualys Container Security Sensor Deployment Guide.